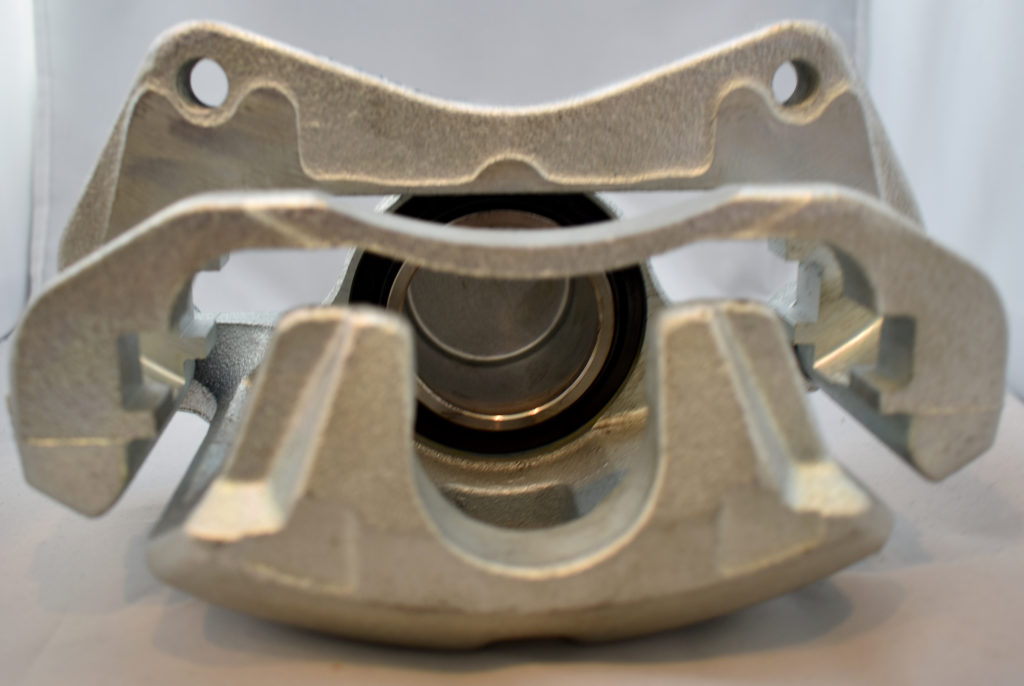
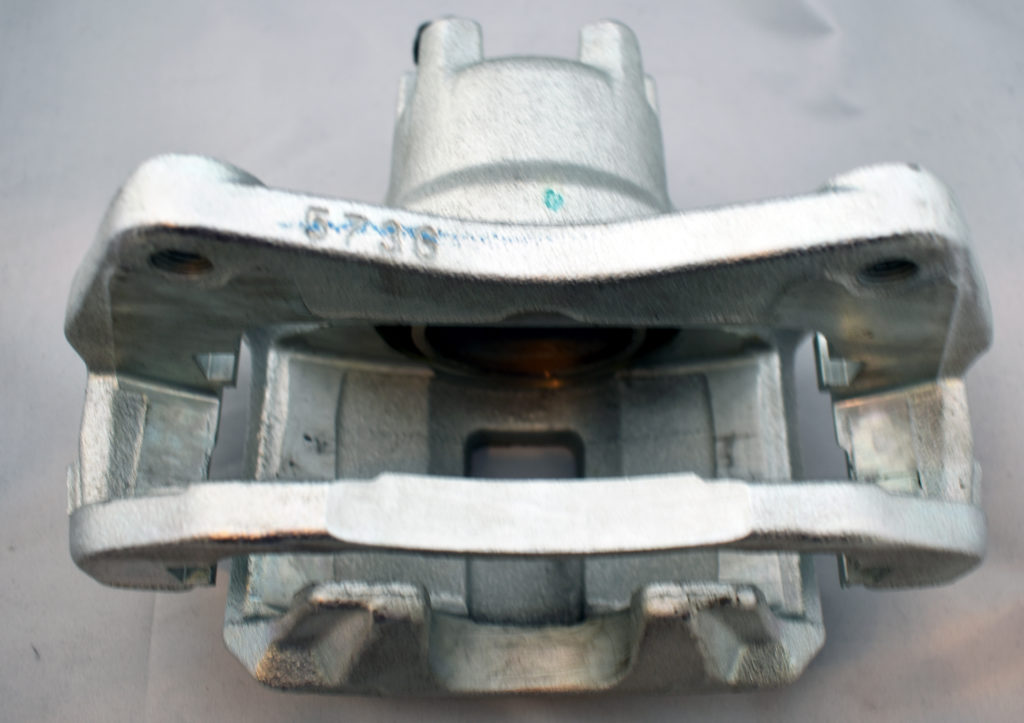
To do this, you will need a new OEM Mitsubishi Brake Caliper Assembly for the 2008-2017 Mitsubishi Lancer: Mitsubishi Part Number 4605A859.
We should also make sure you know that we would love to have our award-winning service department do this for you. If you don’t want to replace the Brake Caliper Assembly in your vehicle, schedule an appointment with our service depart. You can visit our website to make an appointment.
If you do, however, wish to replace the part yourself, the video shared below will assist you in doing so.
First, the part in question. Here is what it looks like:
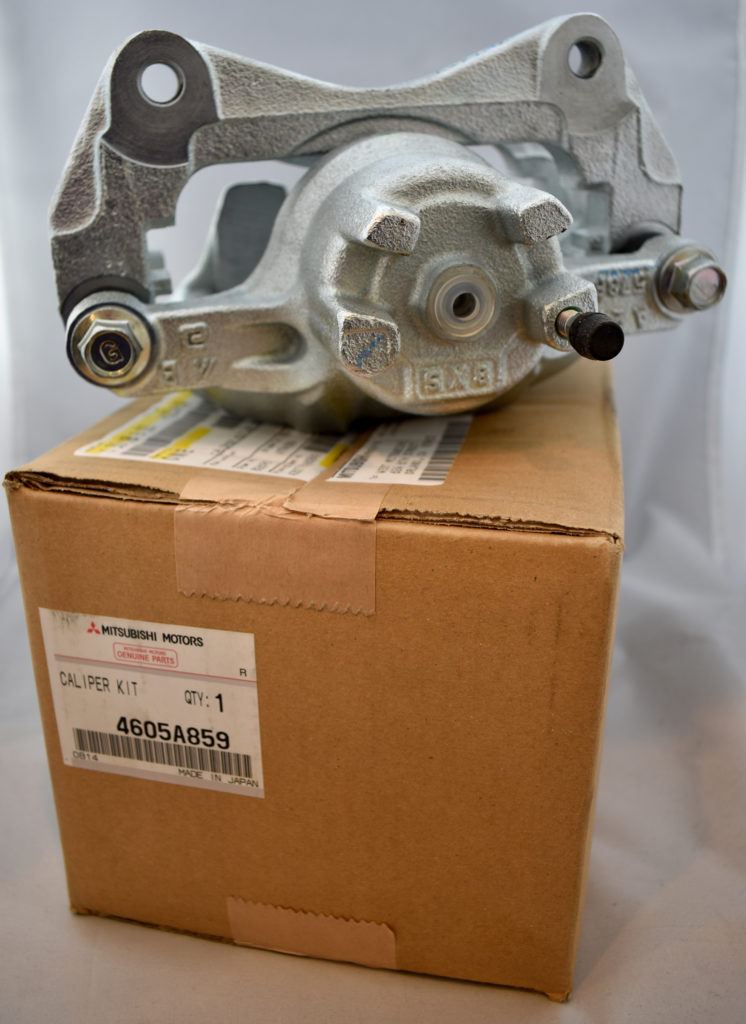
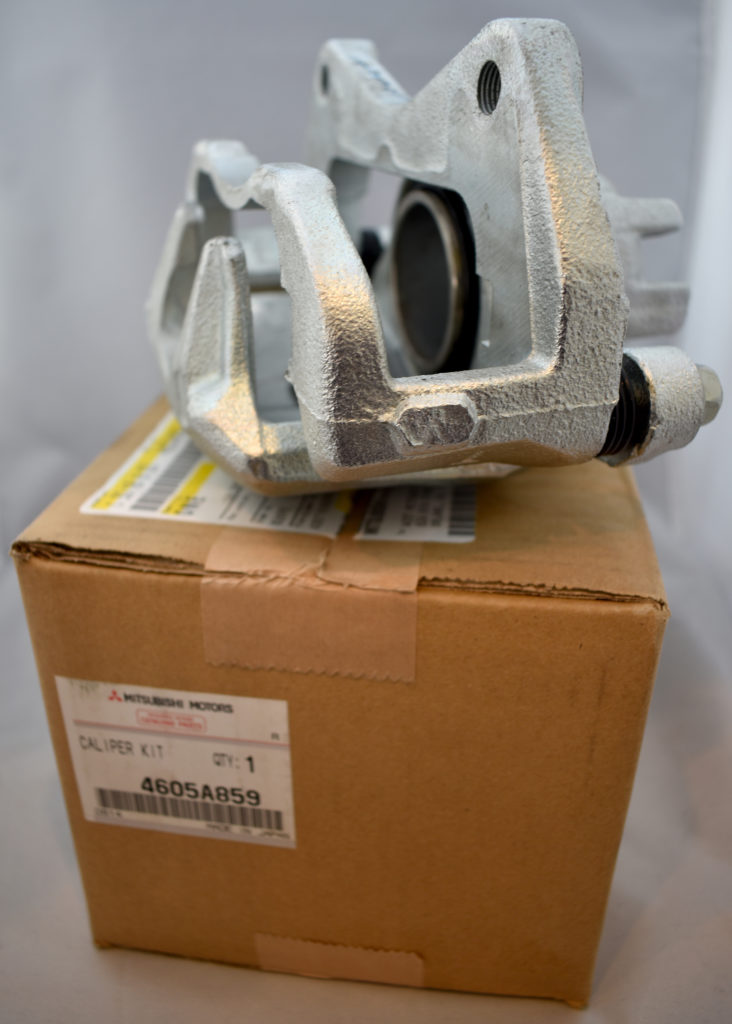
ORDER MITSUBISHI BRAKE CALIPER ASSEMBLY PART NUMBER 4605A859 HERE
HOW TO REPLACE A BRAKE CALIPER ASSEMBLY
In the following video, YouTuber ChrisFix demonstrates how to change a brake caliper assembly. Please note that he is not working on a Mitsubishi Vehicle, so it’s possible that not every bit of detail will apply. But this will give you a general idea on how to do it yourself, should you choose to do so. The transcript of the video is shared below, if you want to follow along. Punctuation has not been added.
hey guys chrisfix here today I’m gonna
show you how to replace a brake caliper
the caliper on my brakes went bad after
changing out all the brakes I noticed
that it was leaking and if these things
leak they need to be replaced or rebuilt
this is gonna show you how to replace
them it’s pretty easy if you could do
the brakes on your car you could replace
a brake caliper so here are all the
tools you’re gonna need to do the job
it’s a bunch of different ratchets
opening a wrench threadlocker different
size sockets and extension a breaker bar
a torque wrench and some brake fluid now
let’s begin the first step is going to
be to get the brake pads out to get
these brake pads out we just unscrew
this bolt back here this is 12
millimeter and we’ll undo the top one to
open this up like a clamshell got that
out now this should just pop right open
just like a clamshell good like I said
these are brand new brakes just a little
bit of rust from the rain from last
night so we’ll put these right back in
when we’re done now just close this back
up put our bolt back in and will you
just hand tighten this before we unbolt
the caliper from the knuckle what we’re
gonna want to do is there’s a banjo bolt
here that brings the brake fluid into
the caliper we want to crack that Plus
right now it’s connected you know it’s
solid if we try to crack this later
we’re gonna do it on a bench and it’s
gonna move around so now is a good time
to crack this just get your ratchet this
is a 15 millimeter just crack it open
brake fluids coming out so then I’m
gonna close this so now that I broke
this bolt it’ll be no problem take off
later now we’re gonna remove the caliper
bracket bolts that connect the caliper
to the knuckle now we’re looking from
the back of the caliper we have to take
two bolts off there’s this bolt right up
here that needs to come out and that
bolt down here that needs to come out
the caliper bracket bolts are usually on
here pretty tight so I’m going to be
using a breaker bar nice and long a lot
of leverage this bolt that you need to
get off is right there this is a 15
millimeter in my case do the top one
first
good now I’ll do the bottom one good and
now we can use a regular ratchet to get
both bolts out completely
that’s one so one thing to remember is
we have the top bolt off now we’re
undoing the bottom one after the bottom
one there’s nothing to hold this up so
we want to hang on to the caliper so it
doesn’t just drop got the second one out
now I have a bucket here ready and
that’ll hold the brake caliper you don’t
want to have any pressure on this brake
hose because you could damage it we’re
not replacing the brake hose
we’re only replacing the caliper while
doing this I should mention this brake
rotors gonna want to move around so what
I do is I hold it down I get one of my
lug nuts I tighten it all the way down
and I’ll just add one more to the other
side give it even more stability so this
rotor doesn’t move at all now that’s
gonna help us it’s gonna keep this in
place so it’ll make putting the new
caliper on a lot easier I added a box on
top of the bucket just so that raises it
up even more just so that there’s even
less stress on this it’ll also allow me
to turn this like that so I could
unscrew this now with this brake caliper
here completely off let’s put the new
one on
since we’re bolting on the caliper get
the caliper bolts and we add some
Loctite threadlocker
on each one and that’ll just prevent
vibrations from loosening this up get
our new caliper put it into place slip
our bolt in there
hand tighten this caliper bolt in with
the top one in get the bottom one
aligned and hand tighten it now we’ll
get in here snug this up for now
and we’ll snug the bottom bolt as well
now with this caliper mounted it’ll make
transferring this banjo bolt and the
brake line to the new caliper a lot
easier and a lot less messy our kit
comes with these anti-rattle clips and
we’ll put these on later what we need
from that is these two copper washers
there are socket 15 millimeter crack
that and then loosen it up right away
brake fluids gonna start leaking out so
we’re gonna make this transfer real
quick take your banjo bolt out I’m gonna
clean off the banjo bolt you can see it
has a hole in it on the bottom and on
the side and that allows the brake fluid
to flow through this when looking at
your banjo bolt you can see that one of
the copper washers is flattened down on
here really good it actually doesn’t
even look like there is a wash around
here but make sure you get it off
there’s also a copper washer on this
which is the brake line so make sure you
take that off so make sure you get
something to get this washer out that’s
very important good get that off and
I’ll take our new one just slide our new
one on all the way slide it into brake
line get your other washer put it on the
bottom and then this bolts right in real
quick no mess it’s a little messy on
here but there’s no mess on the new
caliper and we’re gonna just quickly
Snug this okay that’s snugged enough
that it won’t weak so you can see how
the banjo bolt gets set up there’s a
copper washer at the top you can see
there’s this lip thing here that
actually goes on the top I know it looks
like it should probably go on the bottom
but it goes on the top and then
underneath is another copper washer so
the copper washers compress really well
and they press against this and they
prevent leaks because this brake system
is under a lot of pressure so you don’t
want any leaks that’s why those copper
washers are there I should mention that
a lot of people like to clamp the brake
line I don’t like to do that because it
cause permanent damage to the brake line
if you clamp this to try to prevent
fluid from coming out you could crush
the tubing in here and also you could
crack this and it’s just gonna make you
have to replace this whole brake line
here with the brake line transferred we
could get this hole
all / and bucket set up out of the way
make more room now we have all that room
we could start working on this getting
the brake pads in and also bleeding the
brakes so before we do anything else
let’s just torque this down on my truck
the banjo bolt gets torqued down to 25
foot-pounds remember have both the
washers on there
right now this torque is gonna impress
the washers against the surfaces making
a nice and solid seal and there we go 25
foot-pounds so the caliper bracket bolts
on my truck get tightened down to 85
foot-pounds that’s the top one and
that’s the bottom one with everything
torqued down and tighten let’s put the
brake pads in this is a 13 millimeter
which is different from before the old
calipers were 12 good now this will open
up like a clamshell
remember that we have these brake
anti-rattle clips this holds the brake
pads in so they don’t shake around and
vibrate if you don’t know where these go
reference your old brake caliper this
large one here goes on the top it has
two clips that just click in just like
so and these smaller ones actually
mounts the bracket so if we’re looking
down at the bracket you could kind of
see the brake pads sitting here and in
the bracket you can see there’s a little
divot so this just quite simply fits in
that divot you just push down just like
so and the other one same thing set for
the top bracket just get the fit in and
it clicks right in just like that again
if you don’t remember where they go just
look at the old caliper you could see
that big one goes in the middle just
like it does there and then the two side
ones go on the caliper bracket right
there
and the other ones right up there just
like we did up here now since this is a
brand new caliper even though I have
brand new brake pads we don’t need to
compress these Pistons these pistons
already compressed all the way so you
just take your brake pad and these brake
pads just slide right into those clips
that you just put in and that’s where
they mount
you want to add grease to the brake
parts that have metal and metal contact
on the caliper make sure you use very
little grease when doing this you’ll
grease where the brake pads sit and
contact the caliper on those anti-rattle
clips that we’ve just installed shown by
the red circles and you’ll also want a
thin layer of grease on the back of the
brake pads shown in the red box do this
for both sides of the caliper and both
brake pads these brake pads have
leftover grease from the recent
installation I did so I’m not adding
more grease myself I don’t like using a
lot of grease the other side is the same
exact thing they just slide right in so
now both brake pads are in let’s close
up this caliper the CalPERS should just
close up you might need to give it a
little wiggle
now the springs should keep a little
resistance on the brake pads that’s the
whole point keeps them from rattling
keeps them from moving around so you can
see if I try to push this in it’ll
bounce back out that’s exactly what you
want so just get your bolt slide it in
push it down your brake as you slide
this in so it aligns then I’m gonna get
my 13 millimeter tighten it up on my
truck this gets torqued to 20
foot-pounds
I just use this small one quarter inch
ratchet and that’s pretty much as hard
as I could pull upwards with one hand
and that’s good all we have to do is
bleep this brake system and we are done
so there’s our banjo bolt right above it
usually at the highest point of the
caliper we have our bleeder valve what
we’re gonna do is we’re gonna gravity
bleed it right now so that just means
you crack this open so I have a 3/8 inch
wrench that I’m just gonna crack this
open with I’m just gonna open it up just
like that might want to get a paper
towel and put it below so what’s
happening right now is just because of
gravity the brake fluid is filling up
the cylinder you have to remember that
the brake line is up here the master
cylinder is all the way up there so
gravity is just going to force that
brake fluid out and into this so we’re
just gonna wait for this to leak and
once this leaks I’ll close it up and
I’ll bleed it it also helps to loosen up
the master cylinder cat to let air in so
that it bleeds out faster just like that
once I open the cap it bleeds pretty
quickly so close that off remember brake
fluid is super
corrosive it’ll damage rubber it’ll
damage paint so I always try to clean it
up right away make sure it’s not on
anything now we should check our brake
fluid levels since we’ve lost a little
but this looks good so let’s bleed the
brakes so now here’s the bleeder that I
made it’s a self bleeder I’m gonna show
you how to make this in another video so
if you want to see how to make this I’ll
put the link to that video in the
description below and I’m also not gonna
go crazy explaining how to bleed brakes
if you don’t know how to do it then
check out my other video on how to bleed
brakes and that’ll also be in the
description below now if you want you
don’t need this fancy setup you could
just have somebody press on the brakes
as you crack that open I just do this
because I’m doing this by myself so I
made a one-man bleeder so I’m just gonna
crack this bleeder valve open and then
go in the car and press on the brakes
okay good I can see there’s bubbles in
here it’s getting forced out I’m gonna
keep bleeding until I don’t see any
bubbles here okay there’s no more
bubbles so I’m gonna just close off that
bleeder valve the good thing is all the
brake fluid gets caught over here and
the bubbles bubble out so when I close
off this bleeder valve there’s no air
getting trapped and one last thing since
we just bled the brakes go check the
master cylinder you can see this is a
little bit low so I’m just gonna add
some more fluid till it goes to the max
full-line good before you go on a test
drive make sure you pump your brakes to
make sure that there’s no air in them
you’ll feel like they’re soft or they go
to the floor if you didn’t bleed them
right if you didn’t bleed them right
just go ahead and bleed them again until
that brake pedal feels firm and remember
we’re your emergency brake is make sure
there’s nobody behind you or in front of
you when you’re testing the system out
don’t go fast to start make sure your
car breaks and then check for leaks
those are just some safety precautions
that I would take hopefully this video
was helpful